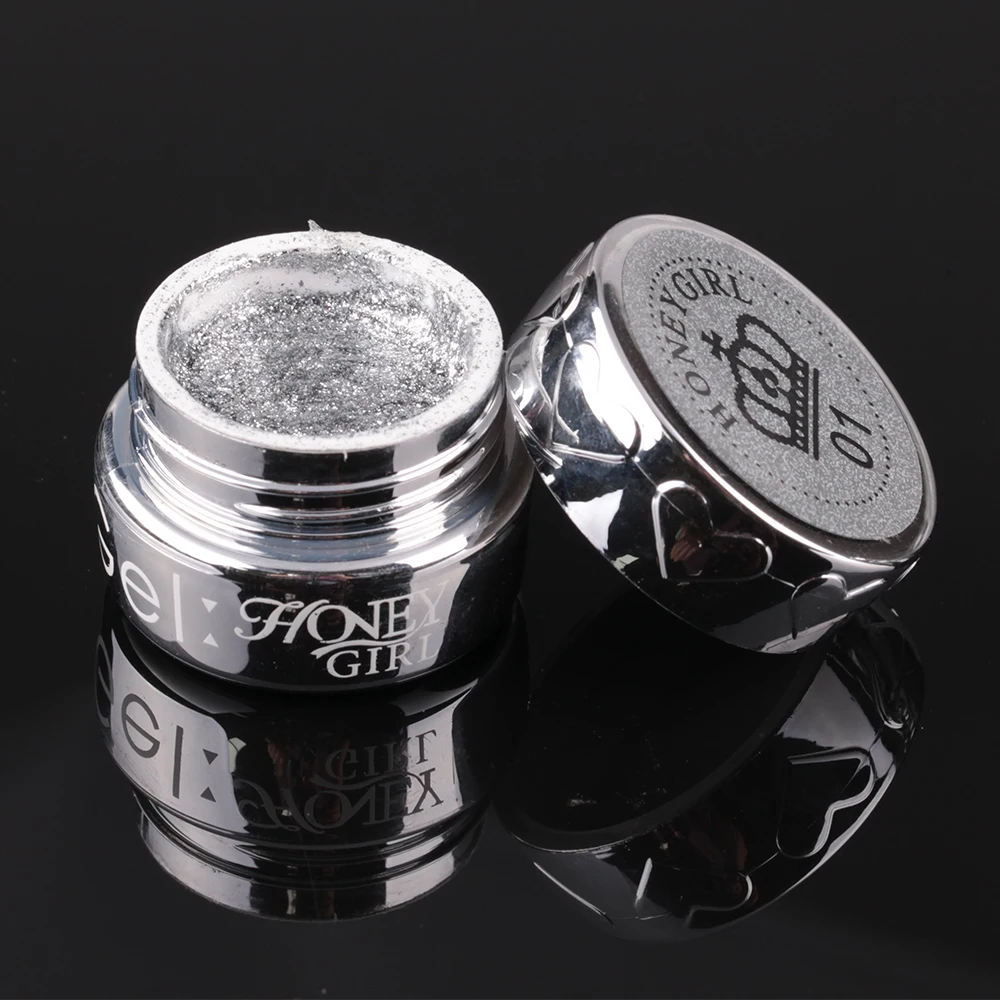
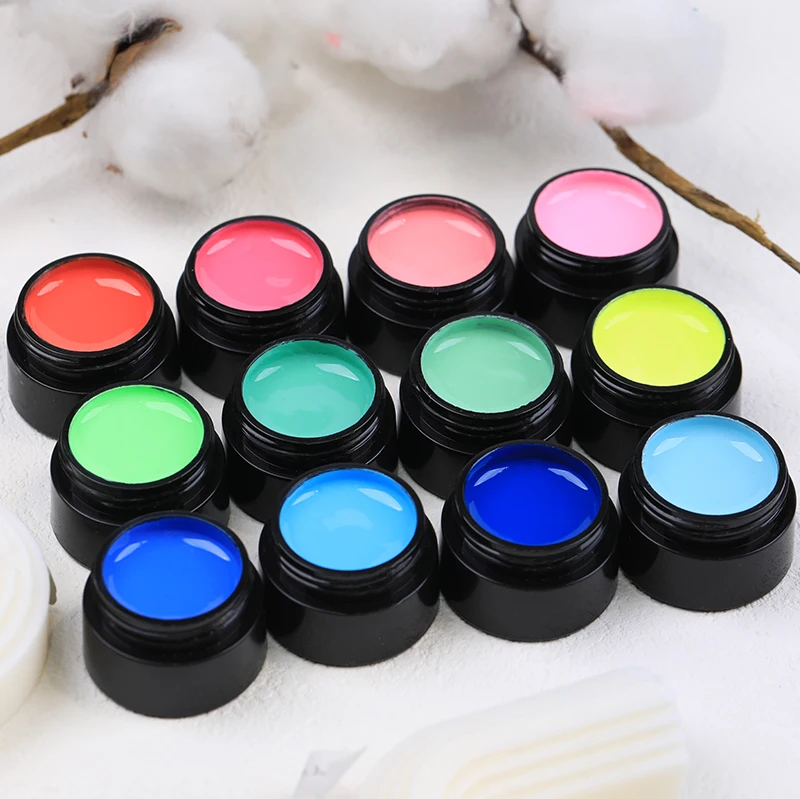
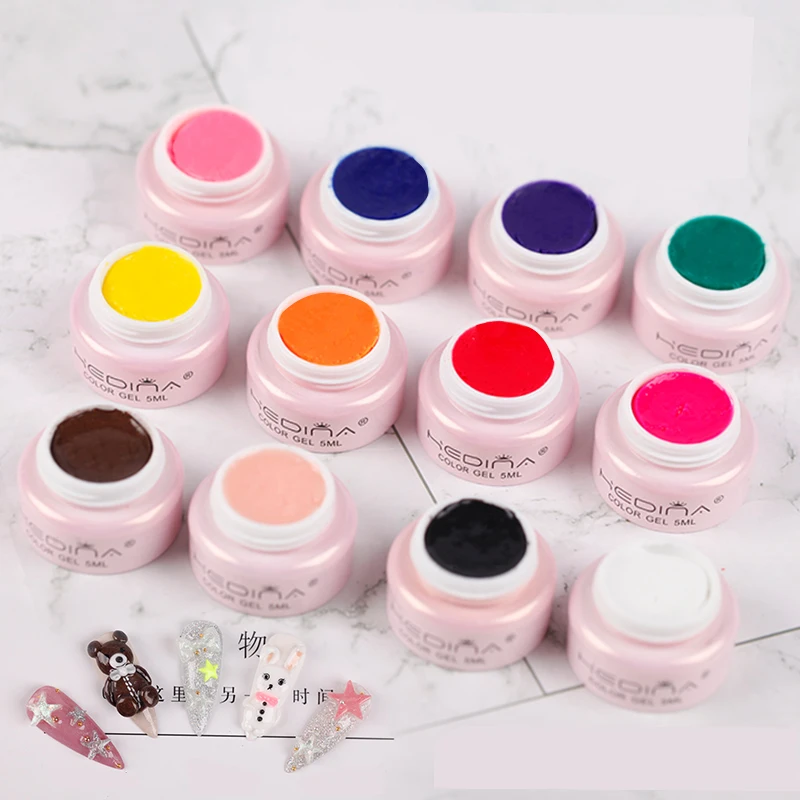
Nail gel varnish is a magical product that has revolutionized the way in which we do nails. Gives them a nice, long-lasting shine. Better yet is you can easily do it yourself right at home, no need for booking a salon. Now, It is time to road up the steps for achieving that perfect salon-like finish from your home.
First up, your nails need to be ultra clean so you have taken off any dirt or nail varnish that was on them. This step is very important because any dirt or oil in your nails can make it impossible for the gel paint to adhere correctly. Once your nails are clean, shape them to perfection with a nail file. Always remember to file in point direction always instead of back and forth, it helps you keep your nails healthy and strong. Right after shaping your nails, buff them lightly to be rid of any bumps or crevices.
Then, once the prep is done comes the fun part - applying that gel paint! Start with applying the base coat. It is important to do this as it creates better adhesion of the gel paint on your nails. Cure the base coat for 15-30 seconds in a UV or LED lamp. After your base coat color has baked on, you follow up with the gel polish of your choice. Apply it as evenly a possible for best results. To do this, apply a very thin layer of gel paint and cure it under the UV lamp or LED light for a few seconds. Keep going until you achieve the perfect color and feel for your skin.
And for the finishing touch to give your nails that extra sparkle, apply a top coat. Allow the top coat to dry for a few seconds under an UV light or LED lamp and then you are good to go with amazing nails!

So, without further ado, let us discuss how to select the right nail gel paint for you. That can be daunting when there are so many brands and shades to select from. Here are some tips to guide you in making the right choice:

Find a popular well-known brand with a strong track record on quality and durability. This will help you ensure your manicure will be lasting and not chip after a couple of days. Select a color that best fits your skin tone and personal style. If you are not sure, try nude or a classic red or pink. These colors work for most skin tones. Choose appropriate finishes. Your options are glossy, matte, and glitter. Finishing can add depth and texture to your nails, balancing your overall look. Pick the one that you prefer. If you are a devoted animal lover, prefer cruelty-free, and vegan variations of products you use. You will enjoy your fancy manicure without feeling guilty of supporting animal cruelty. Nail gel paint is a multifaceted product that allows for diverse application methods. Here are a few examples of nail gel paint designs you can sport year-round: Ombre; Modern French Manicure; Graphic; Negative space.

To sum up, nail gel paint really has redefined how we do our nails for maintenance and design. Nail Gel Paint is considered to be a staple in beauty routines since it serves more than one purpose, from creating some breathtaking art designs on nails to expressing oneself through unique styles. With the help of these tips and tricks, one can easily up their nail game as well they can come out with some good designs in order to make sure that your manicure certainly lasts longer.
can modify the packaging, colors, textures the ingredients to meet your needs. core value is to fight for better solutions to your business. are customer-centric and actively listen to customers. We offer support online 24 hours a day and can nail gel paintin five minutes.
have 100 employees including 5 highly skilled designers, five QC and 20 service teams from around world. have over five hundred colors on stock products.In addition, we release 10-15 sets each month with new products. Our annual sales total 10 million bottles and serving more than 3000 customers. Our quality nail gel paintteam and system are solid.
specialized in gel polish have twelve years of experience. have six production lines, and our weekly capacity is 200 000 bottles. have well-nail gel painttesting facilities and strong technical force with many different products good quality, affordable prices and fashionable designs. products widely used in the nail art business and other industries.
employees highly knowledgeable and are equipped with state-of-the-art manufacturing equipment. is a key to the production of high quality products. have more than 12 years of ODM and OEM experience. products are well-known and nail gel paintby our customers. They are able to meet the constantly changing economic and social requirements.